Have you noticed that what attracts you most in following brands, blogs, and instagram accounts, is their photos? {I’m pretty sure you’re nodding your head right now 😉 }

Great, eye-catching, and brand-friendly images are essential if you have a blog or social media accounts. Especially if you want to stand out in an age where people are exposed to an insane amount of content 24/7. Stock photos can be great from time to time, but I believe there is an added value when a brand has its own unique images. It gives the brand and its various platforms a sense of authenticity, and the following audience feels more connected to them.
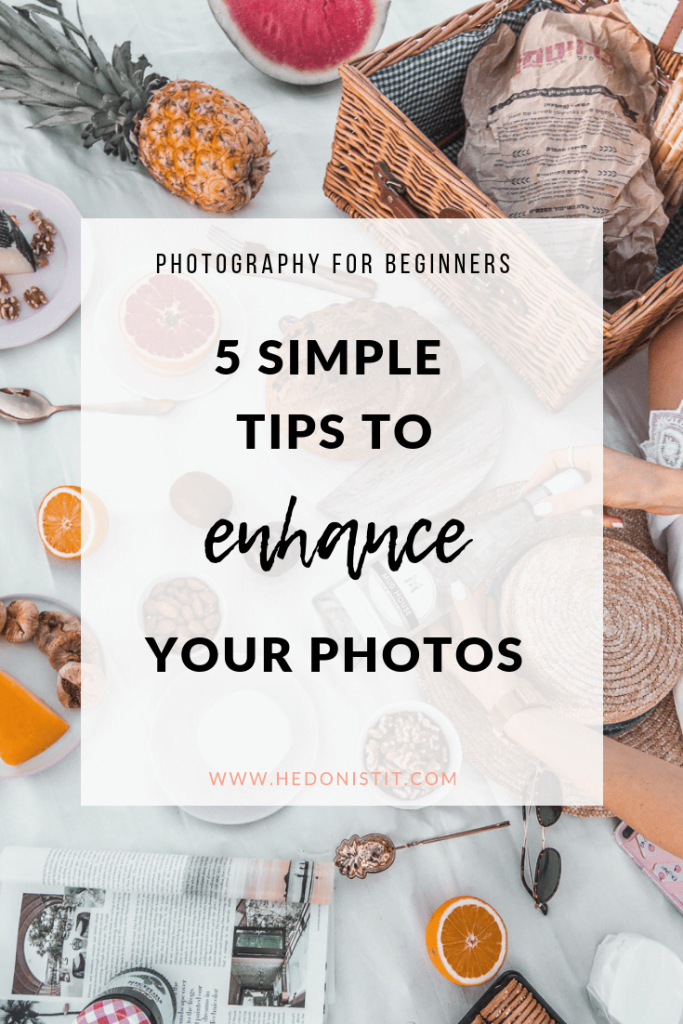
Over the last three years, in which I have taken countless pictures for my blog, my own brand, and for many other brands and companies around the world, I’ve learned a great deal about photography and creating quality visual content. In this post, I will share with you 5 photography tips you should know if you want to take your photos to the next level. These tips can be applied whether you use the camera on your smartphone or a professional camera, and I assure you that they will make a huge difference in your images the second you start applying them.
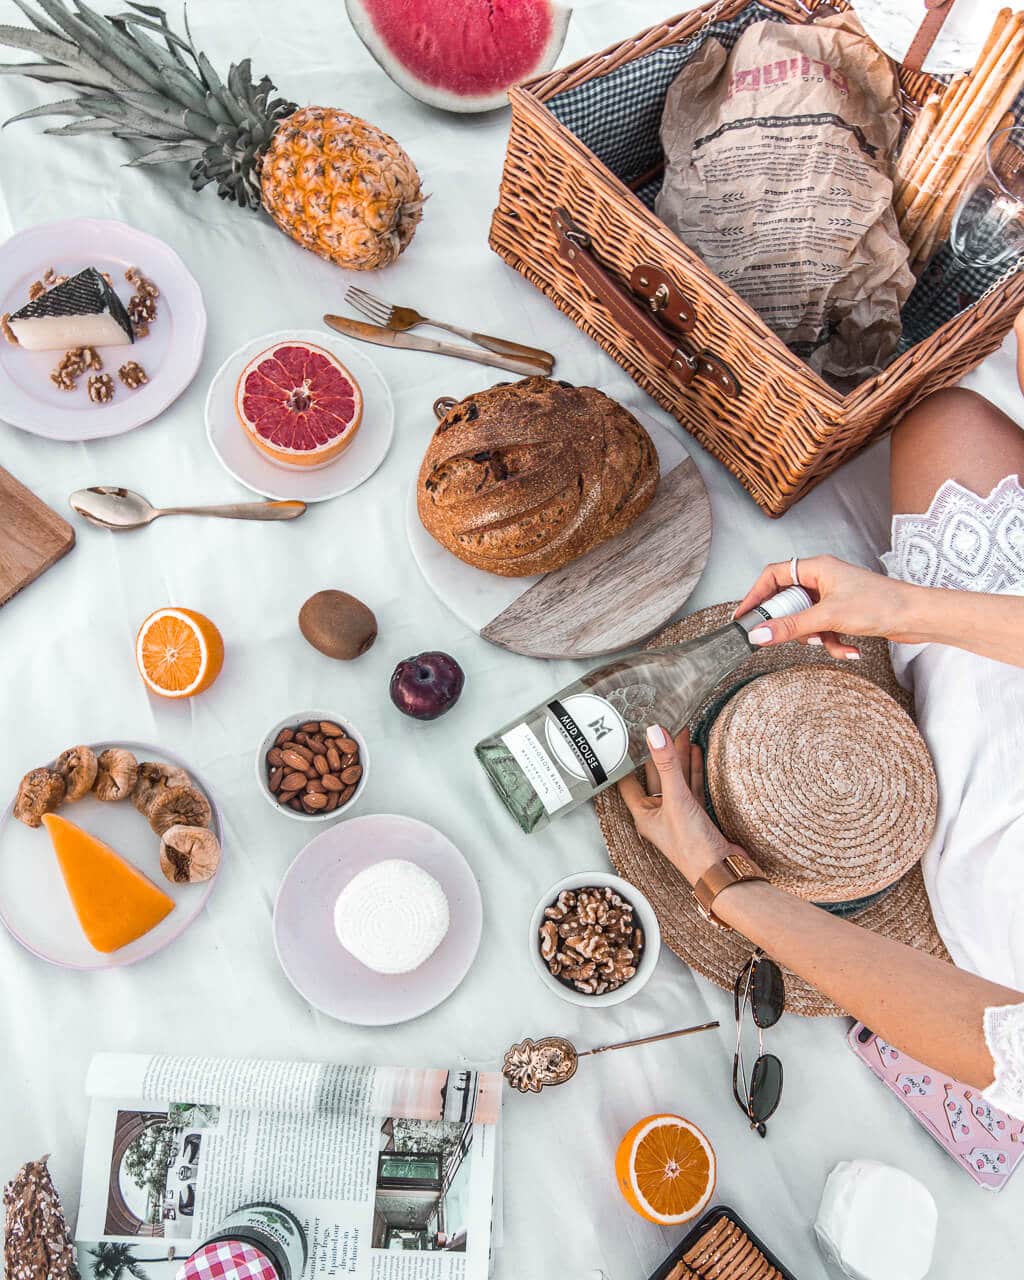
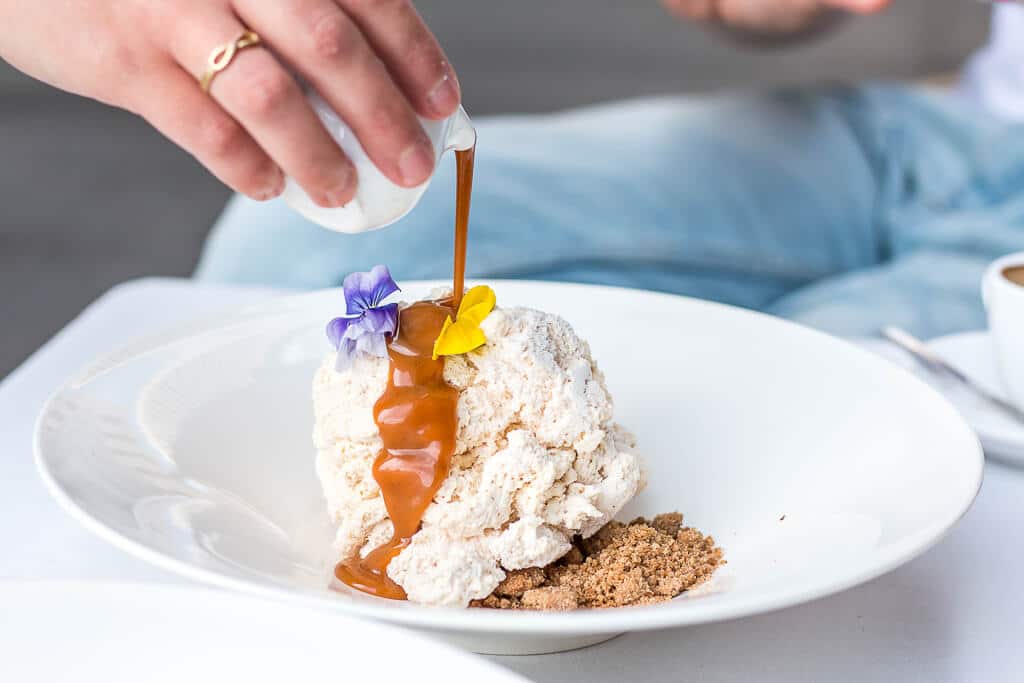
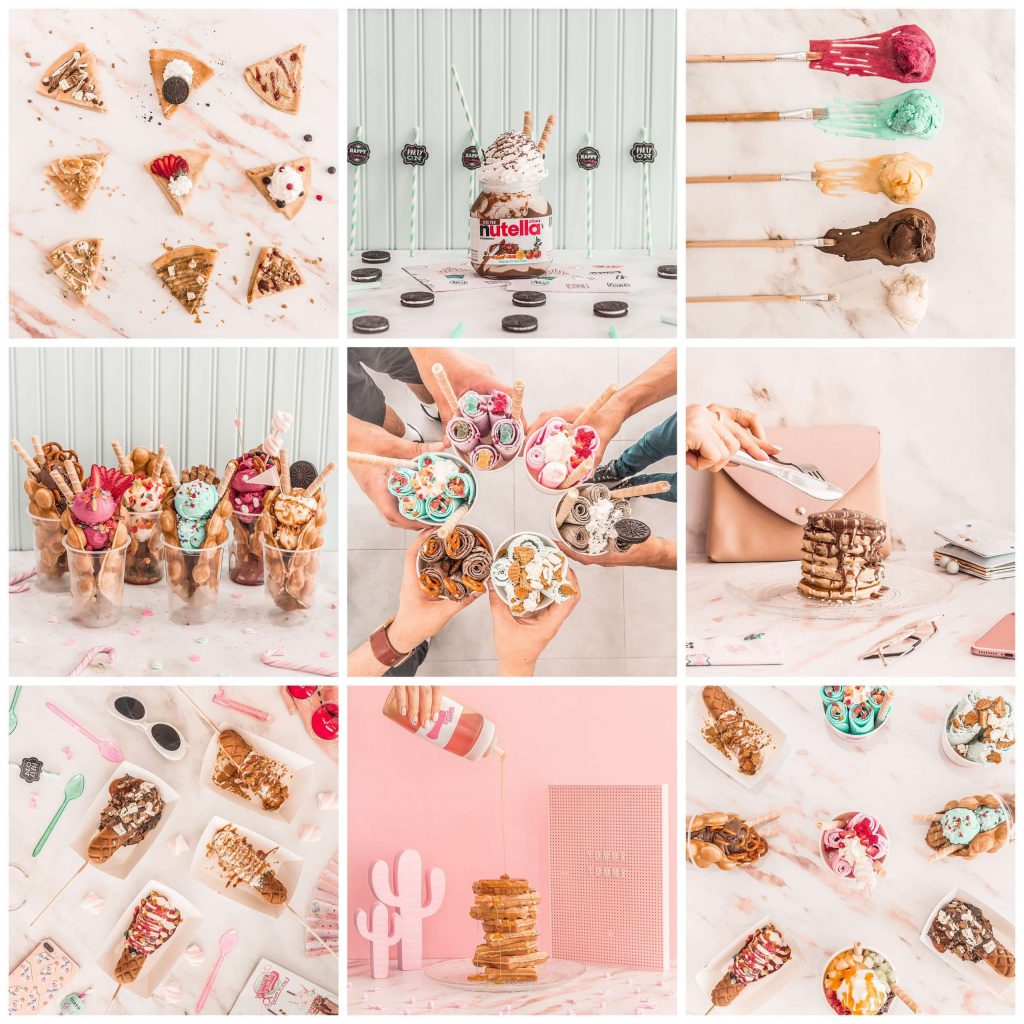 Photos I took for the ‘Yummy Yummy' Ice Cream Store IG account
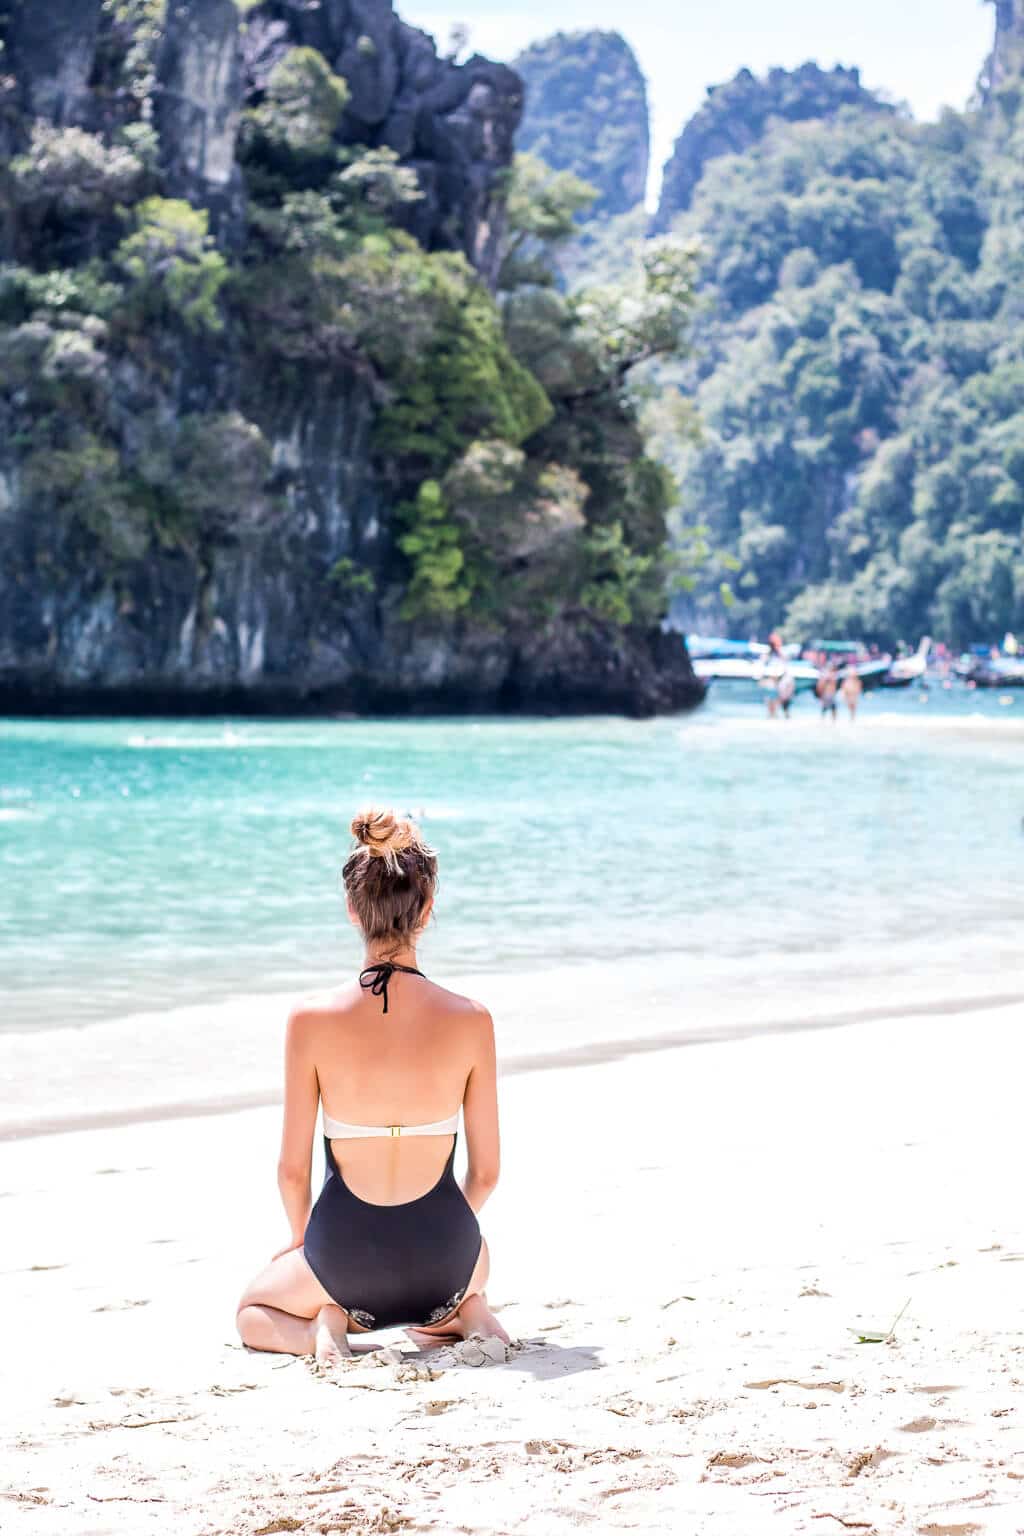
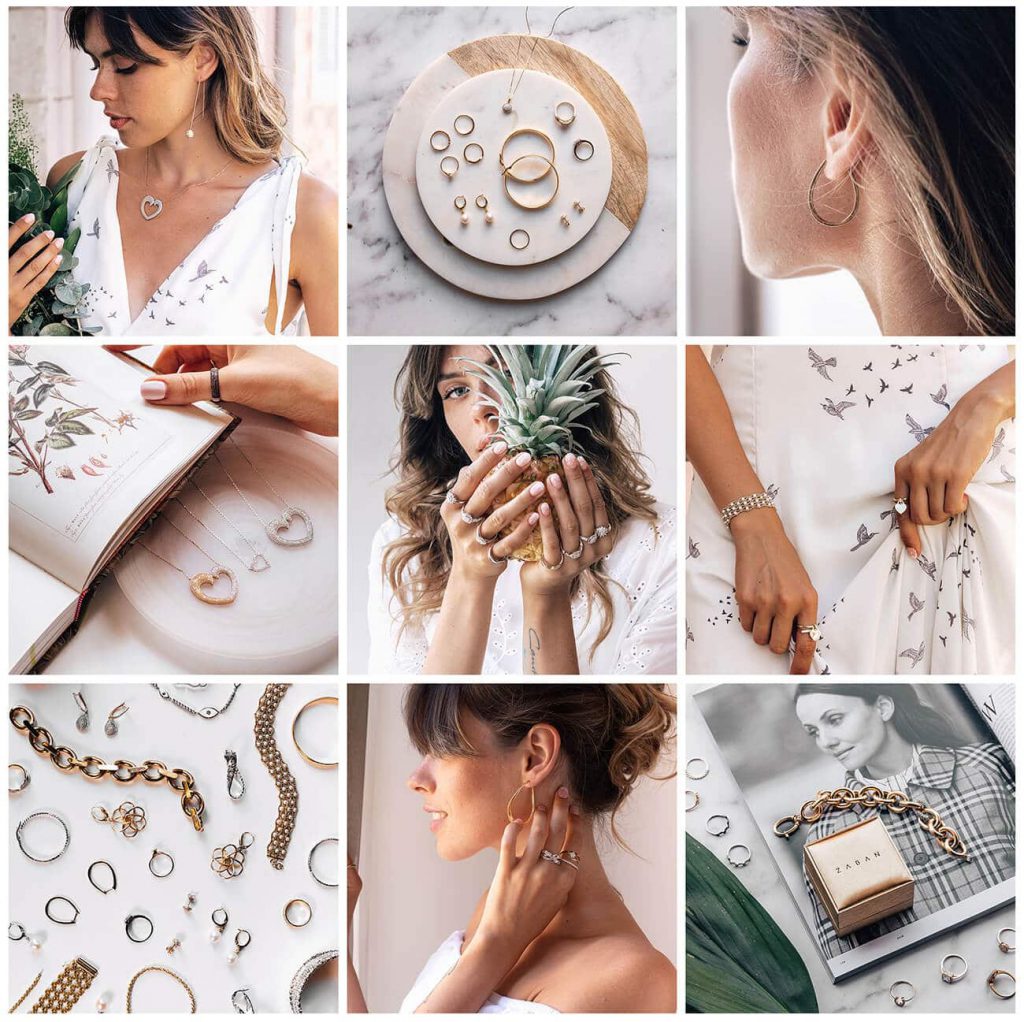 Photos I took for ‘ZABAN Jewelery' IG account
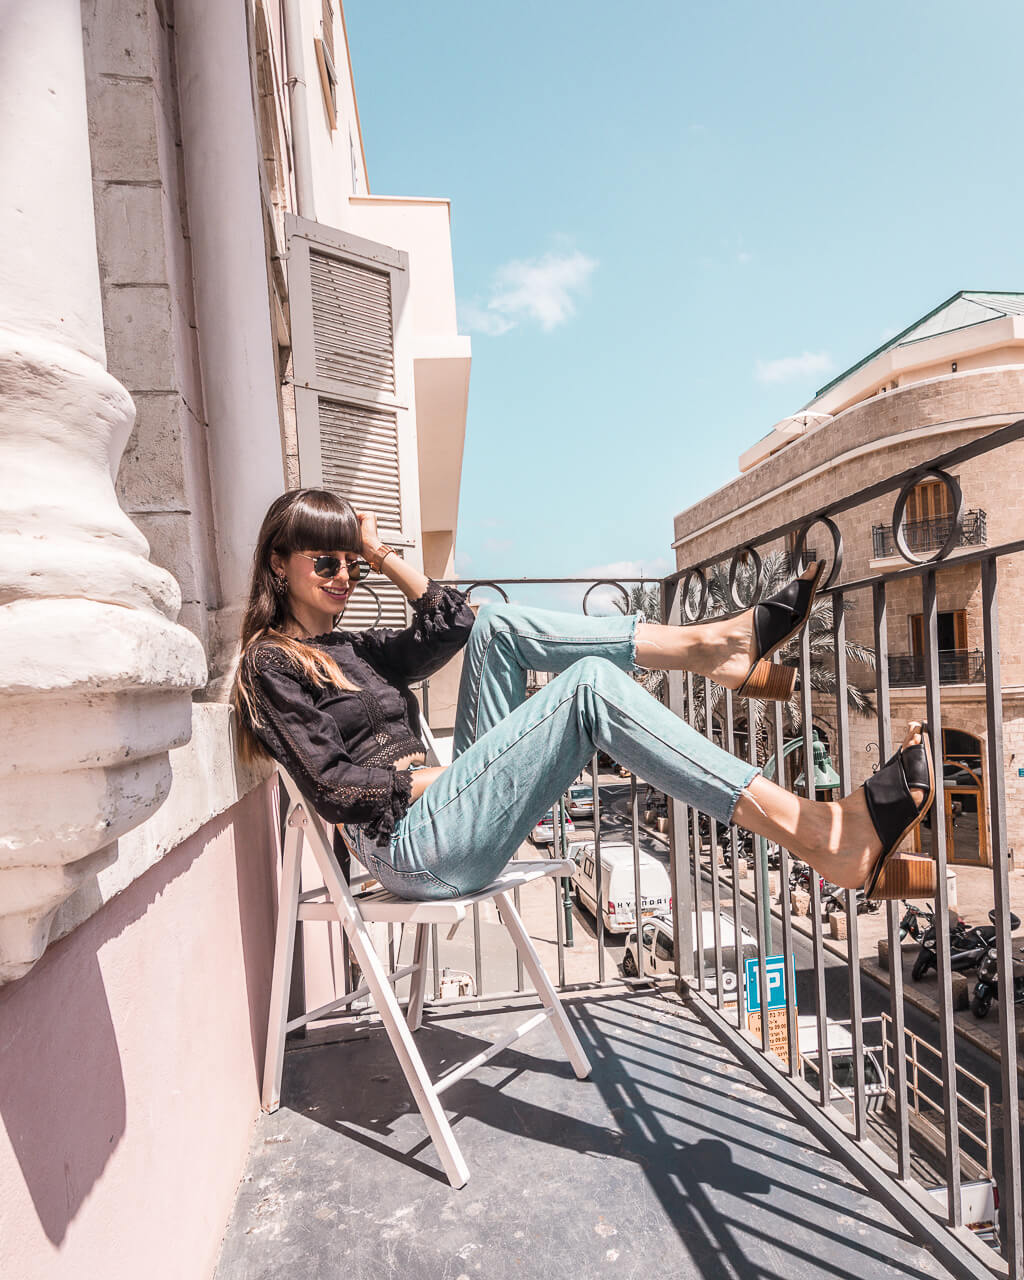
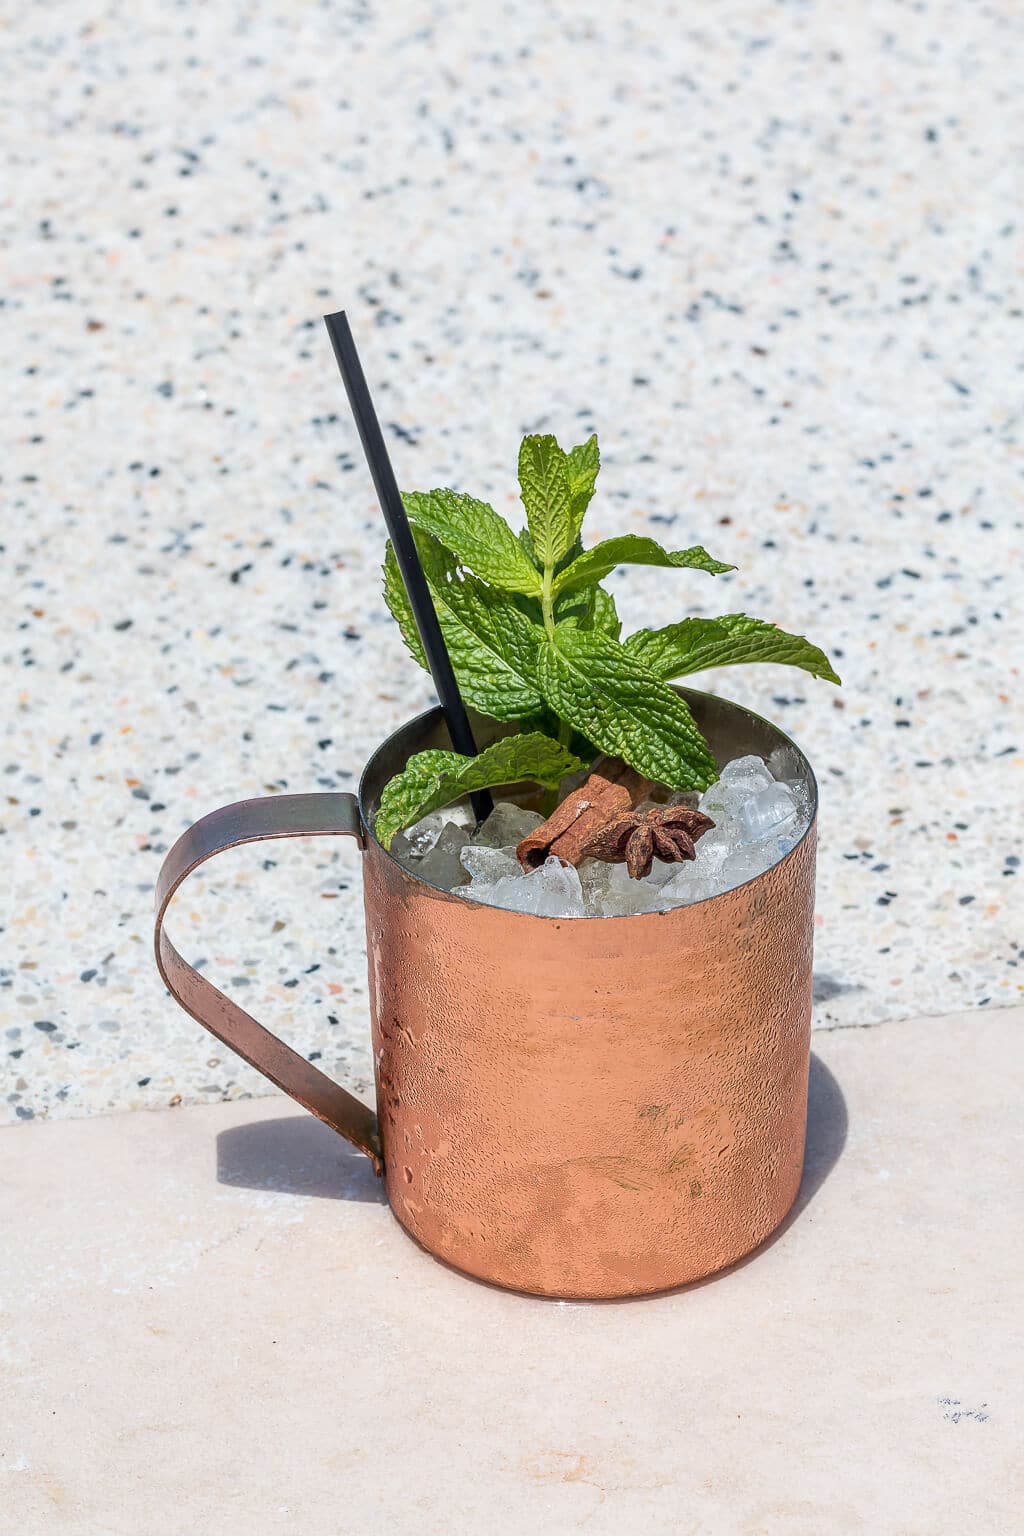
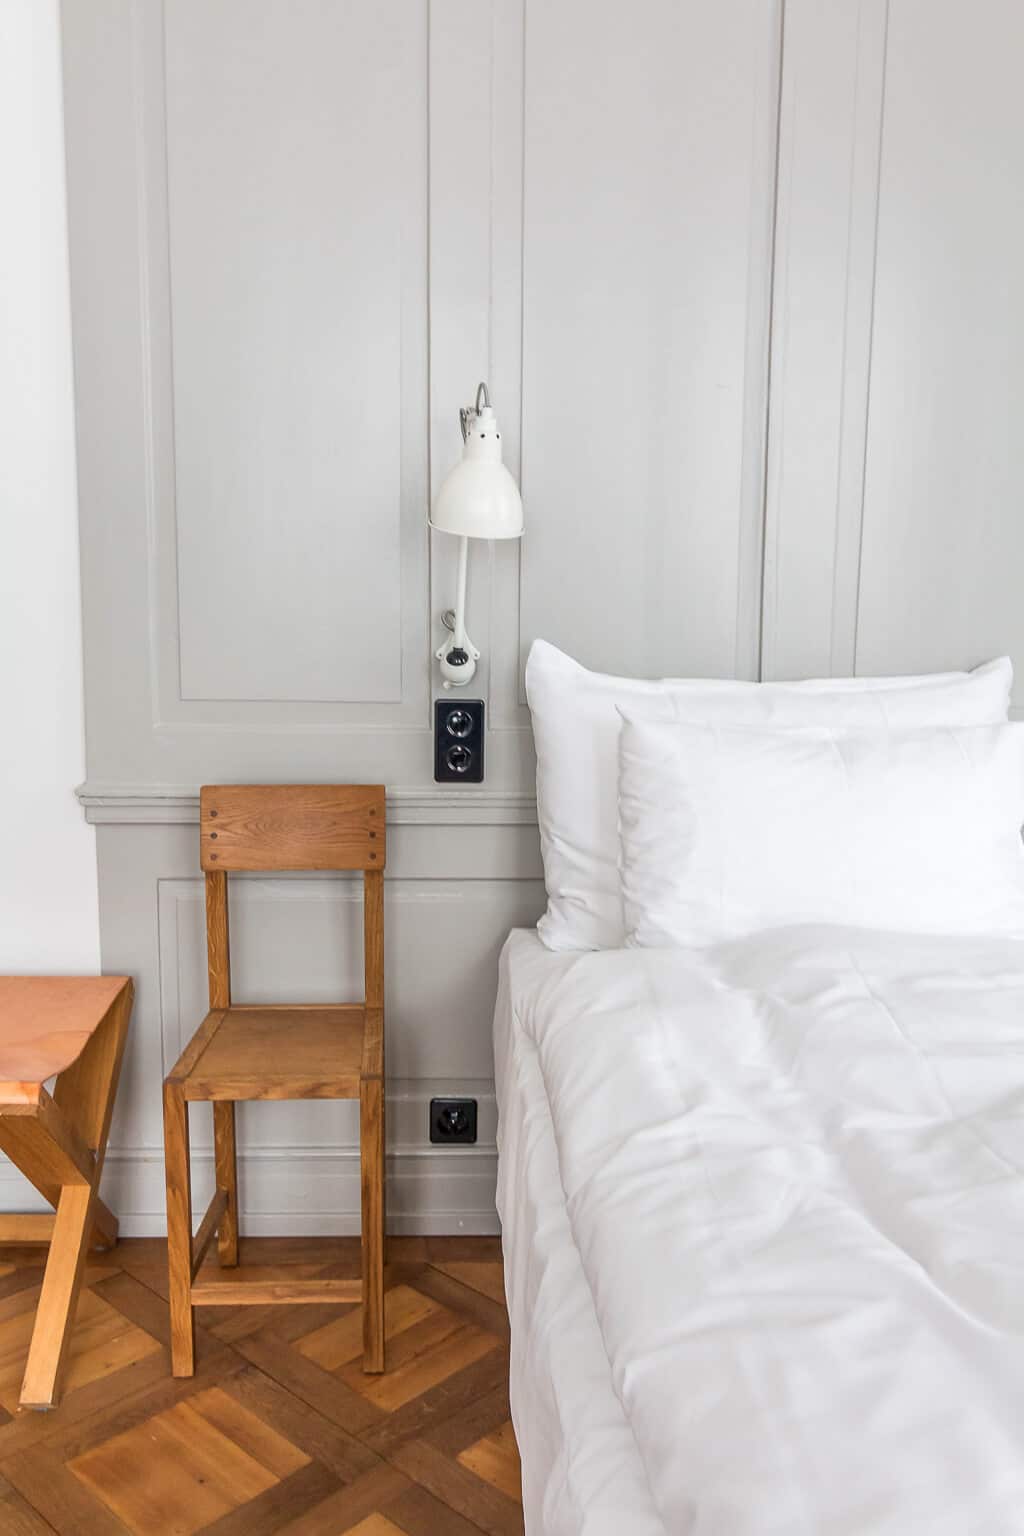
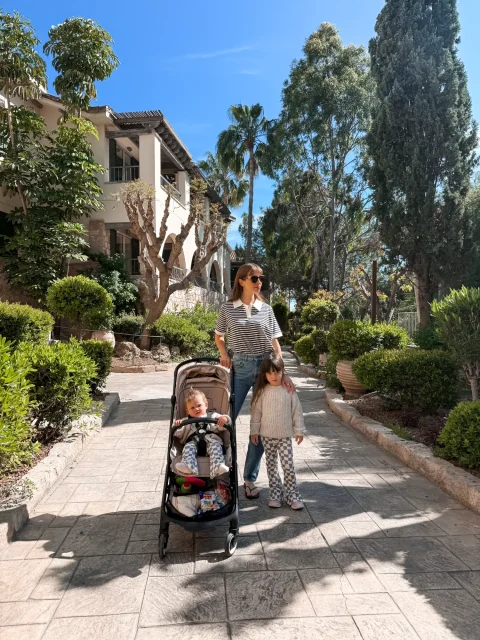
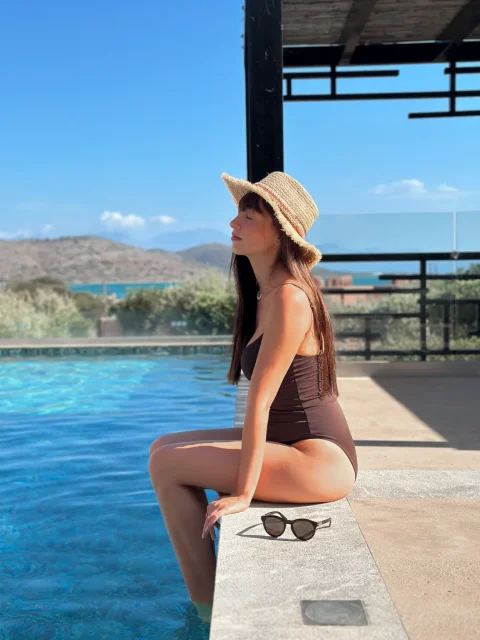
  Photos I took for ‘U Boutique Kinneret Hotel' IG account
Let’s dive right in!
Shoot in RAW
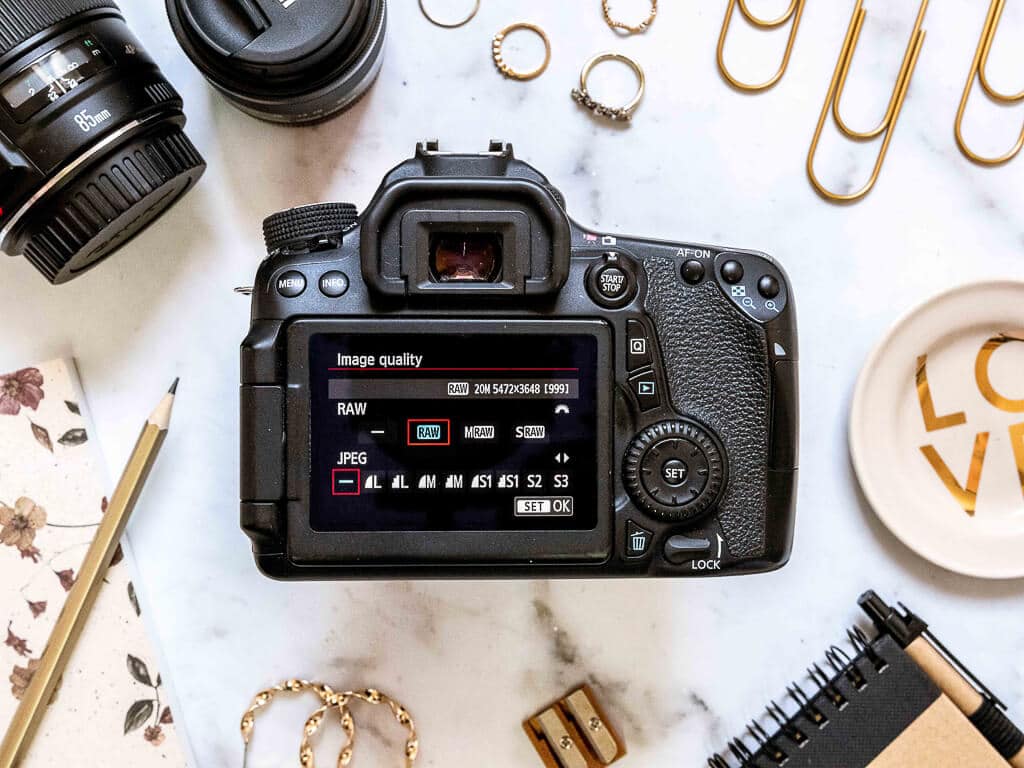
Chances are the pictures you take on your phone or camera are defined as JPEG files {also knowns as JPG or jpg}. This is a common, standard image format, and it is the default setting on our cameras. JPEG files are compressed image files designed to reduce the weight of the file and save space on your memory card. Although it is possible to edit JPEG files to a certain extent, any touching up will affect the image quality since it does not hold a lot of information, and therefore it gets that over edited look very quickly.
Unlike the JPEG file, a RAW file is an uncompressed and unprocessed image file. The image's raw information is kept at a very high quality and therefore takes up more memory space. Since images taken in RAW format capture much more information than JPEG files, they give you much more control and options while editing your image in software programs such as Lightroom and Photoshop.
Even if you only use your smartphone camera, it’s worth checking out any available options for shooting RAW. Although not all devices have a built-in option, there are all kinds of different apps that allow you to use the format. For years I had no idea what RAW was, and always shot JPEG. Since I “converted” to RAW, I’ve never looked back!
Take action now – Change the settings in your camera to save RAW files and, on your smartphone, download an app that allows you to shoot in this format {if it is not built in to your device}. Take into account that files in RAW format take up more memory space, and therefore you should be equipped with a large memory card.
Learn How to Use Natural Light
There are many criteria that make a picture look good, and interesting, but the most important thing in photography is – without a doubt – lighting. Why? Because no matter how hard we've worked on all the other elements to make sure the picture comes out perfect – if the lighting is not good, the picture won’t be either.
My favorite lighting for photography, which I use in 99% of my pictures, is natural light. I like the fact that it can be played with and create different moods, it is easily manipulated with simple tricks and accessories, like a reflector and a diffuser, and – it is free and available to all.
I like to play and experiment with the light, so even though my personal style tends to opt for soft natural light, you can also find pictures taken with a harder, more direct light, which creates deeper shadows. I believe that getting to know the range of natural light is very important, because it provides you with the possibility of variation, and the ability to change and develop.
Take action now – Take your picture in a naturally lit setting, outside or near a source of natural light, like a large window. Use a diffuser to soften hard light, and use a reflector to reflect the light back onto the photographed object.
Create Flattering Compositions
A very important tool, which can help you turn any nice looking photo into an intriguing and interesting image, one that is hard to keep your eyes off of, is composition. I’m sure you’ve heard of the word composition before, and chances are that you’ve even applied it yourself, but it’s very important that you understand the precise meaning of the word so that you can make use of the tool in the best way possible.
So what is a composition anyway? Composition is a term used not only in photography, but also in other art fields such as painting music and dance, and its meaning is the arrangement and organization of the elements of the work in a given space.
Okay… this may sound a little like gibberish to you… but the truth is it’s pretty intuitive.
In photography, creating a composition is actually choosing the elements we want to include and omit from the frame we are working on, as well as how we arrange the same elements within the frame, so that ultimately we can highlight the photographed object and create an eye-catching image.
There can be an enormous difference between a photo captured incidentally and one into which much thought and planning was invested when creating the composition, especially when you know what you’re doing. Designing a good composition can not only represent reality in a more interesting way, but can also allow us to manipulate and represent reality in a completely different way than it actually is.
Take action now – Define the main object in your image and comprise a composition that highlights and flatters it in a way that it will naturally appeal to the viewer’s eyes. Selecting the right accessories and color scheme to suit the atmosphere you want to create in the photo is an important part in designing a successful composition, so it is essential that you think about them before you begin to arrange the elements in the frame.
Add “Bokeh” To Your Photos
You must have come across images in which the background in completely blurred while the subject is extremely in focus. This blurring effect is often called “Bokeh”.
When I first started taking pictures, I remember that “Bokeh” was one of the effects I wanted to create most! There’s just something about it that in my opinion adds a much more professional aura to the image, especially when it comes to portraits pictures or close-ups shots.
The good news are that once you understand what’s behind the Bokeh effect, it is so simple!
To understand how Bokeh is created in a picture, you first need to understand the term Depth Of Field, or DOF. Depth of field is actually the area within our focus range – that is, the area selected as the center of the image.
So how does it actually work? When the depth of field is large, the areas in front and behind the focal point will appear clear and sharp. Whereas when the depth of the field is shallow, the same areas will appear blurry and lacking in detail. The second situation is where the magic occurs and the bokeh effect is created.
Take action now – Learn to adjust the aperture on your camera and learn how to wisely use its focus points. If you’re using a smartphone, check if you have a built-in , digital DOF option, {for example, in iPhone 7+ and its successors, ‘Portrait’ mode bests simulates this type of photography}. If this option does not exist on your phone, you can download a depth of field app such as the mobile version of Lightroom.

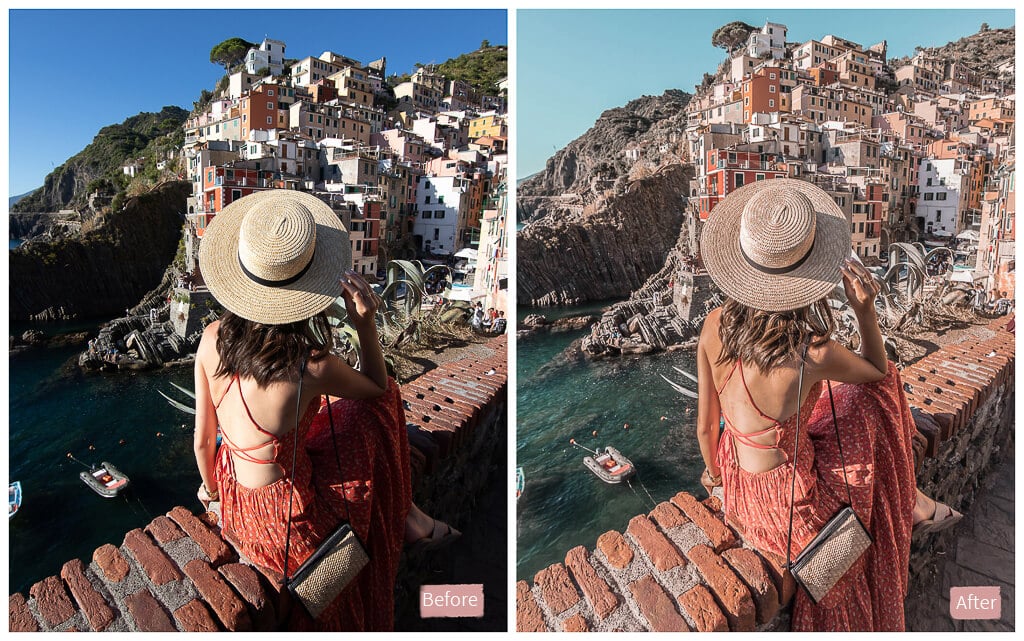
Edit Your Photos
The question I am most frequently asked on Instagram and in the emails I receive is “how do you edit / design your photos?”
Photo editing is definitely the icing on the cake, which turns good images into amazing. No matter how good the initial image you have taken is, there is usually a small or large detail that can be altered to take it your image to the next level.
There are many photo-editing programs and applications out there, but in my opinion, not one of them is able to surpass the editing that can be done with Adobe Lightroom {which exists as a mobile app as well}. All of the photographs shared on my blog, those I take for companies and brands, or those included in my photo albums, are all edited by the excellent Lightroom.
The first time you open the program, it may seem very intimidating and confusing, and you may have thought it simpler and better to edit the pictures on your smartphone with other applications like VSCO and Snapseed. {Especially if you had a few unsuccessful photo editing attempts using the program}. Believe me I’ve been there, I know how it feels… But, from the moment I decided to get to it and seriously learn how to edit my photos using Lightroom, I could not look back. The power of this software is simply addictive!
Take action now – Learn how to edit your photos with Lightroom. I assure you, you won’t regret it. And no less important – make sure not to over edit your photos. I see so many photos on Instagram that are so overly edited that not only does the editing add to the photo, but it really destroys it.

Want to know how to photograph like a pro? Very soon I will launch my extensive photography and photo-editing course, sign up to the newsletter now to receive all of the details directly in your inbox.
If you liked this post share it on Facebook and save it to Pinterest ♡


")

30 Responses
Great photography tips. Really informative!
Thanks! Be sure to signup for my newsletter – more photography goodies are coming 🙂
Oh wow that was a great article.
Your article will help me.
Thank you and looking forward to learn more from this blog.
Thank Kavleen 🙂 Can’t wait to see your progress
Wow.
Photography is one of my best hobby.
This post is so helpful foe me.
Thanks.
Thanks for the great tips! Downloading Lightroom right now.. Hope it won’t be to hard to learn it! ☺️
Good luck sweetie ♥
This is nice article from your site. This post is nice facilitate for me and others also.
I came across your blog by chance and I’m so glad I did! This was super informative and inspired me to dig out my camera and start playing with it again.I’m a small blogger focusing on personal development and I think my blog would really benefit from photos taken by me (rather than stock photos). Thank you for inspiring me!
Thanks Paula! your comment makes me so happy 🙂 Good luck!
Thanks for sharing this, highly useful. I’ve been looking for a way to splurge out visual content for my social media assets, this is going to help 🙂
You’re very welcome 🙂
Interesting blog. I love your blog style and design.
Thanks!!
You are a genius! Excellent Photographer I must say.
Your pictures are beautiful, I am a lover of good photos.
I have shared this with my sister who has a passion for photography she will surely learn a lot from these tips given here.
Thanks so much for sharing.
Thanks Vic! glad you loved my style 🙂
Thank you for these tips
Wow, such awesome photography tips. thankyou
Wow! Amazing Photography tips. Aesthetics is one word to define your photography. keep sharing more.
Really this is awesome photography tips for beginners. Thanks, I have learned from your blog.
You’re welcome 🙂
First , your blog design is awesome, can you tell which theme you are using. Second, the post is also awesome and write in simply manner.
Thanks Gaurav! I’m not using a theme, it was especially for my brand 🙂
Thanks for sharing all these information..all your hardwork is much appreciated. as a beginer this tips are very useful
Thanks! I’m so glad that you found my tips useful 🙂
Very informative tips for photography. I use these tips for my photos which i use for my online ecommerce platform.
Thanx for sharing…
Perfect! Glad you enjoyed my tips 🙂
YES!! Good photography is one thing that will keep me on a social media page. It has to be appealing to the eye. Great tips!
Thanks darling!
Nice article with informative tips on photography. I am also a good photographer but I do not have any advanced DSLR camera. I will definitely buy one.