One of the very best ways to channel professionalism that will cause serious brands and companies to become interested in working with you is to send them an email with your offer to collaborate and include in it a media kit packed with style and details about your blog. The best collaborations I’ve worked on came as a result of sending the companies a media kit to introduce them to my blog.
In this post, you will understand what exactly a media kit is and how to create your first one, like a pro.
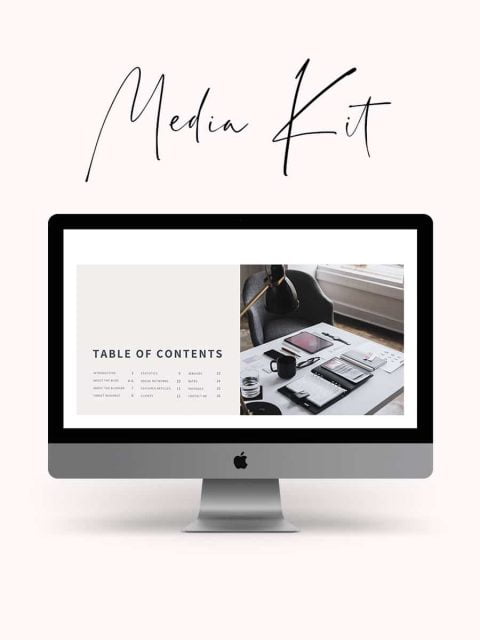
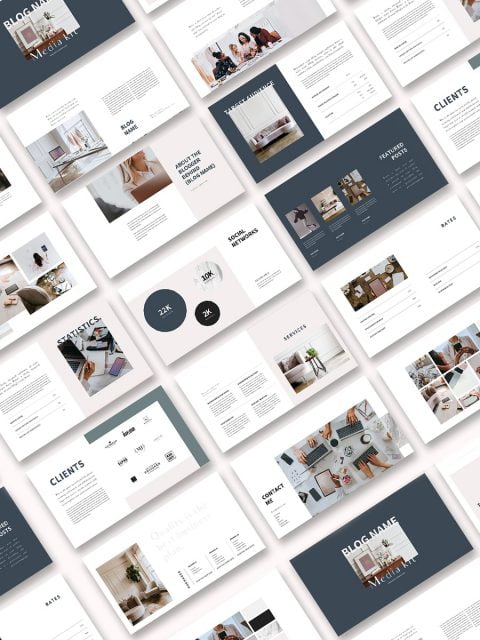
A Media kit is in fact a document intended for advertisers and parties interested in certain media and includes details about the business and the means available to it when it comes to advertising. In other words, your Media kit is more or less your blog’s CV. Now, a media kit is not only for bloggers, but it is also used in marketing in various scales, from blogs and large content sites to newspapers and television channels. But, if you want to distinguish yourself from the crowd, and channel not only professionalism but also creativity {which for a blogger is a feature worth highlighting …} your media kit should be appealing and eye-catching. It should include your blog’s statistics and should be designed according to your brand’s color palette, and the images included in it should represent your abilities of creating high-quality visual content.
If you’re dreaming of seriously collaborating with brands you need to have a great media kit in your toolbox. And don’t let your blog traffic be a concern, your media kit can highlight the added value you are able to provide the brand with and can make an excellent first impression.
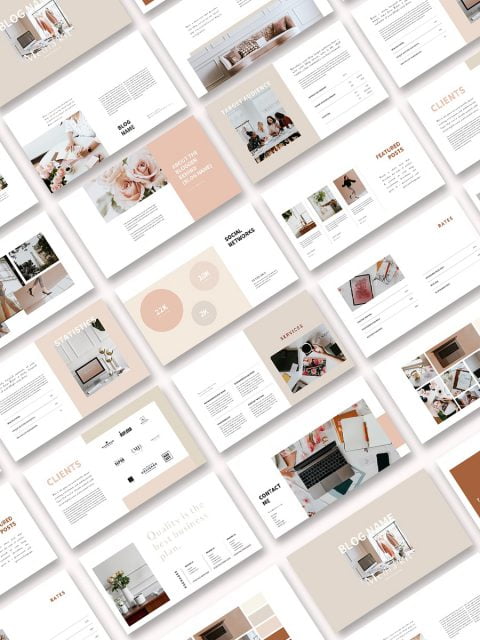
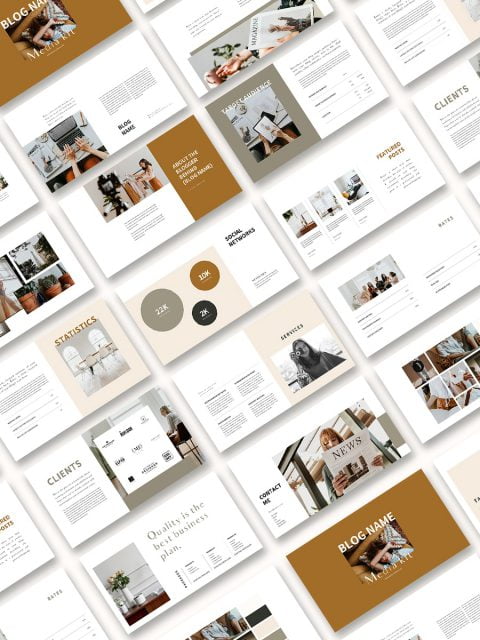
SO WHAT SHOULD YOUR MEDIA KIT INCLUDE?
A short description of your blog Write a short description of your blog that introduces your blog’s niche and the topics it discusses. This is also the place to highlight yours and your blog’s strengths, and list the criteria that distinguish you from other bloggers.
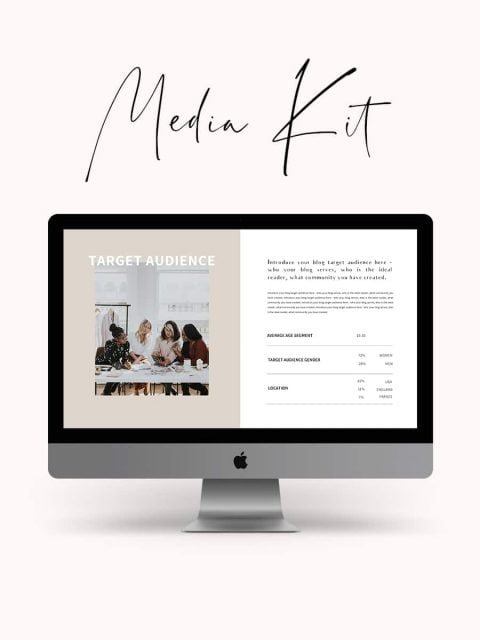
Blog Statistics Companies will want to know the kind of exposure you can offer them and the only way to show them is via statistics. You can get your blog statistics off Google Analytics {If you haven’t signed up for their service yet – now is your chance. Google will begin collecting data from your blog from the moment you sign up, and not a moment before, so you may need to wait a few months to accumulate enough data}. If you’re a beginner blogger, you should include a section that compares the first few months with your current data to show the companies that your blog is growing and worth advertising with because your audience is constantly growing.
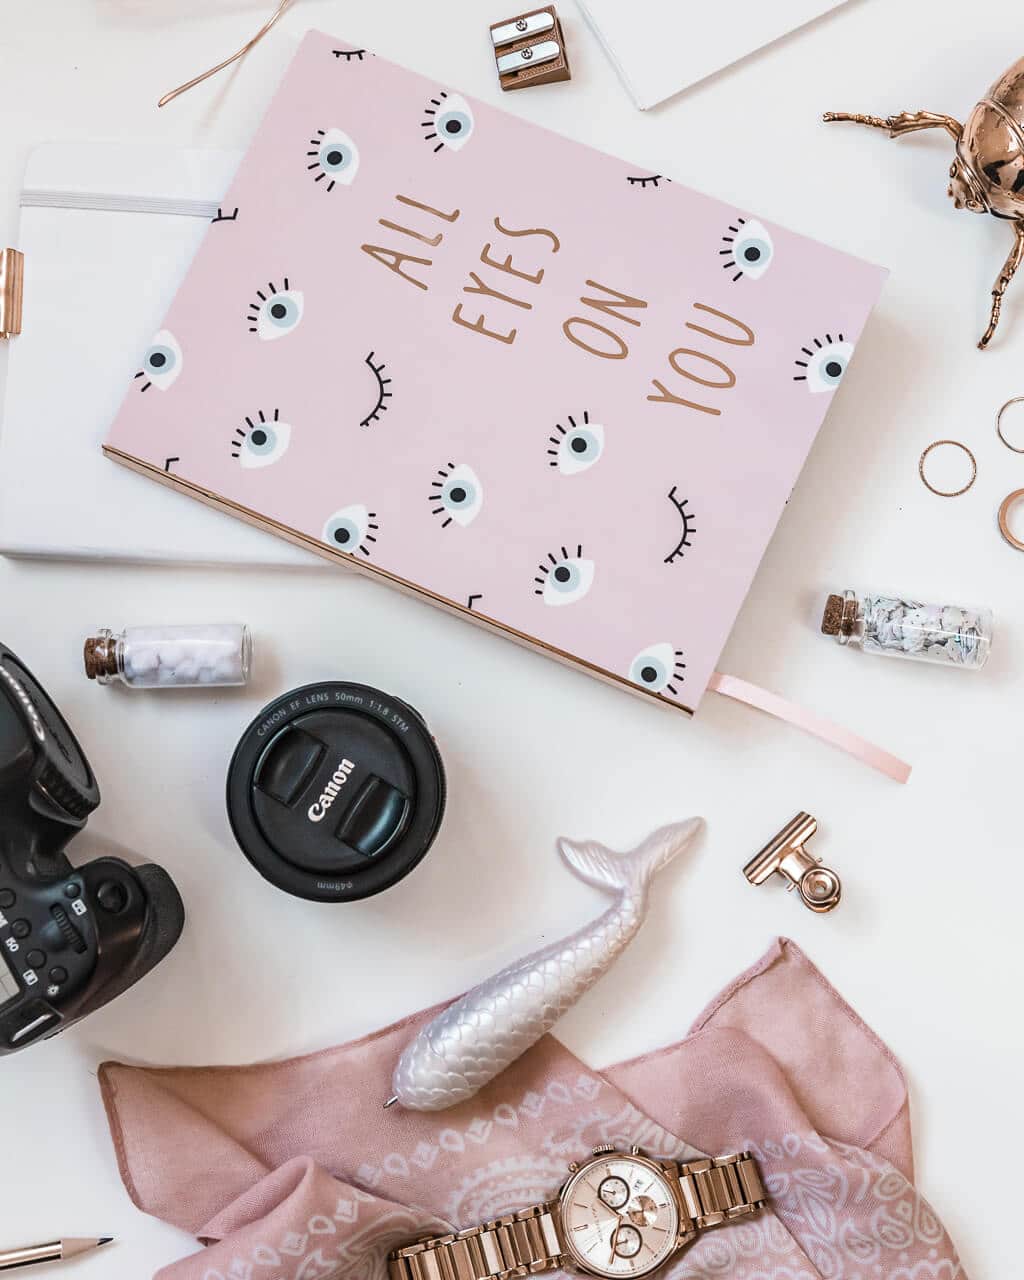
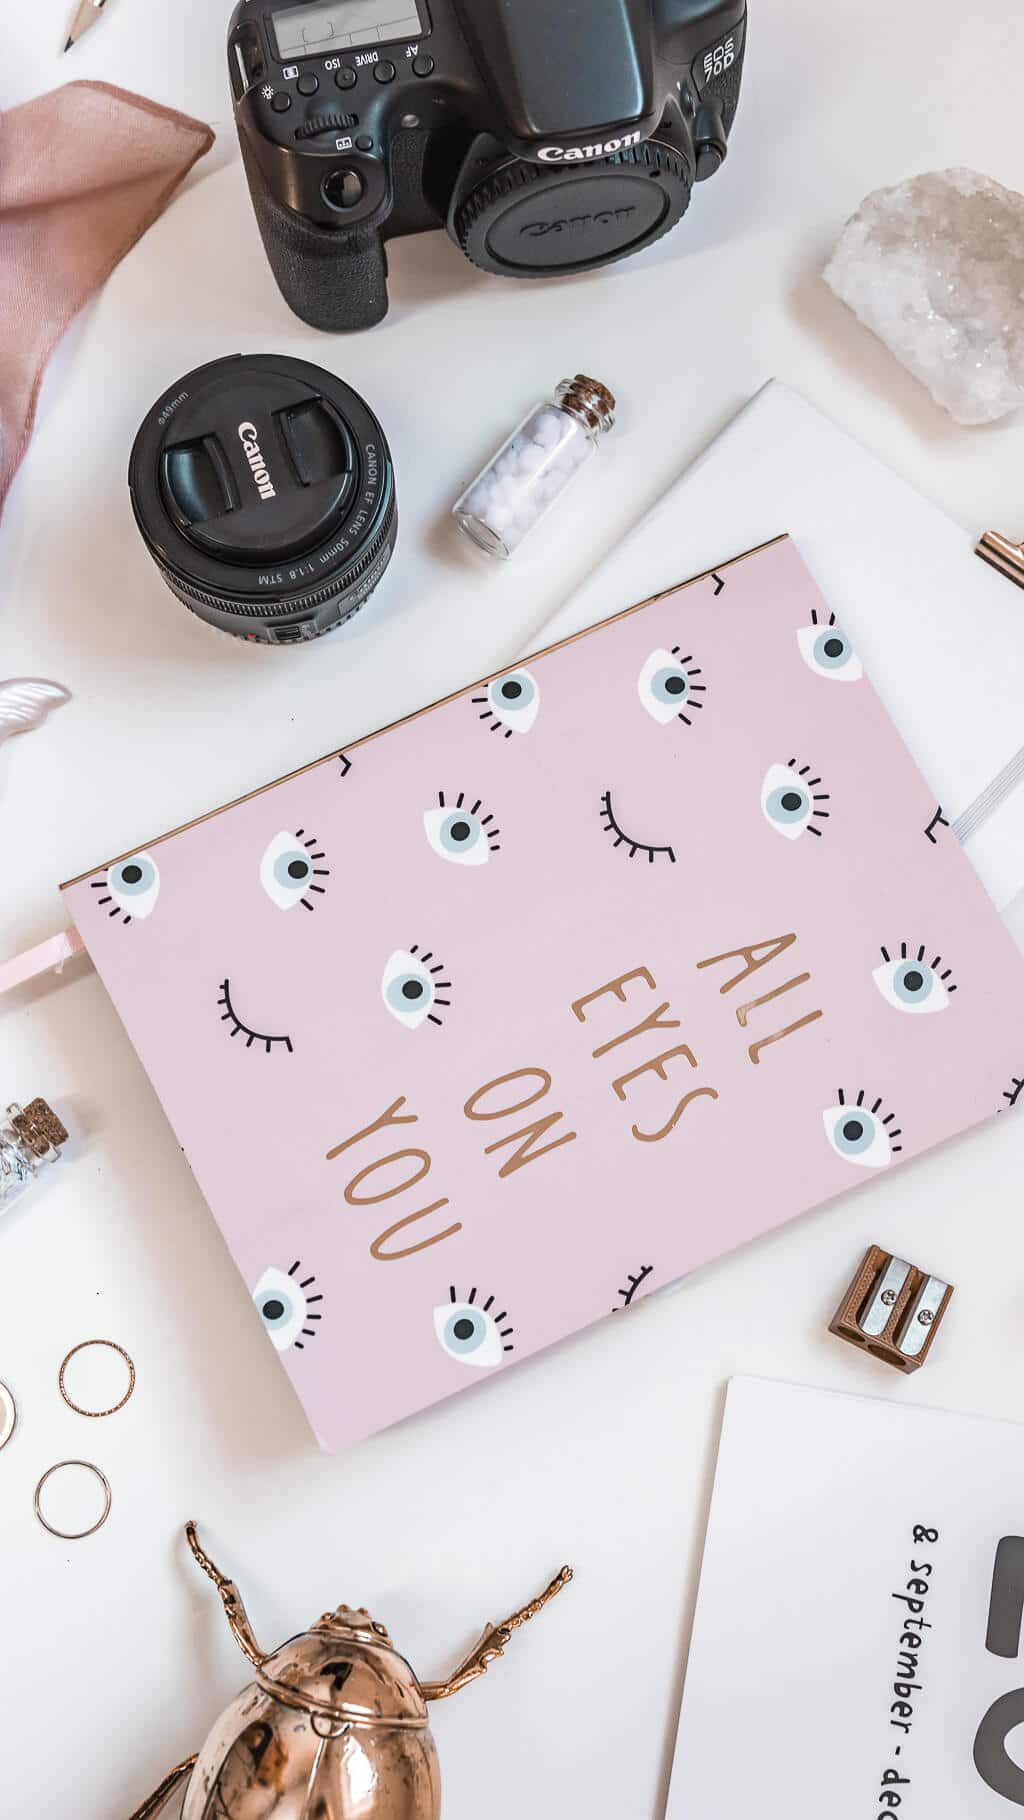
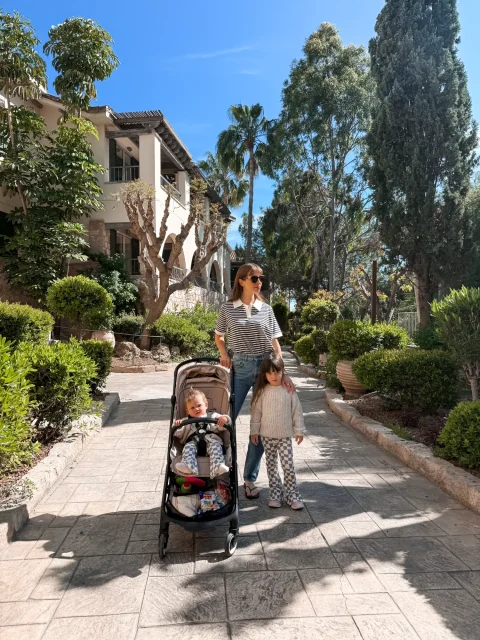
Great Photos Your media kit is the place to show off your photography skills, so choose the best shots you’ve taken, or snap amazing new photos to use in the kit media. The companies you plan to approach are your next potential clients, and since today visual content is in reign, the best way to show them how well you can promote their product to your audience is by using really good images.
Contact information Your media kit should include the following information – full name, email address, address {to which products will be sent} and phone number.
Optional – Examples of your best blog posts Add links to the top three posts you’ve created for your blog. These examples will give companies a greater idea of your writing and editing style and will make them feel more comfortable sending you sample products or offering their services.
Optional – Brands you’ve worked with in the past Once you gain experience and expand your portfolio, adding logos of any major brands you’ve already worked with can strengthen your professional status.
That’s it! I’m sure this is sooo much easier than you imagined 🙂 And I assure you, this little document can have amazing effects on the way you are perceived by the companies you plan to approach.


")

10 Responses
Hi Tamar,
Really interesting article you have here! It was a pleasure reading it! Looking forward for more articles from you.
Thanks! Super glad you enjoyed it 🙂
Hello, you are always inspiring bloggers like us. I read your posts daily. In fact, I spend at least 20 mins daily on your blog to see what is new on the blog.
Thank you so much! 🙂
Very good website for information. Thanks Great and lovely blog for life style bloggers and lovers.
Thanks Reshu.
I think this is an informative post and it is very useful and knowledgeable. Thanks a lot for keeping great stuff.Such a nice information.
After reading your post… i am all set and clear about it.Please keep sharing such meaningful information.
I hope that you continue to do your work like this in the future
good website for information tkx!!!
very well written thank u so much for sharing
You’re very welcome!