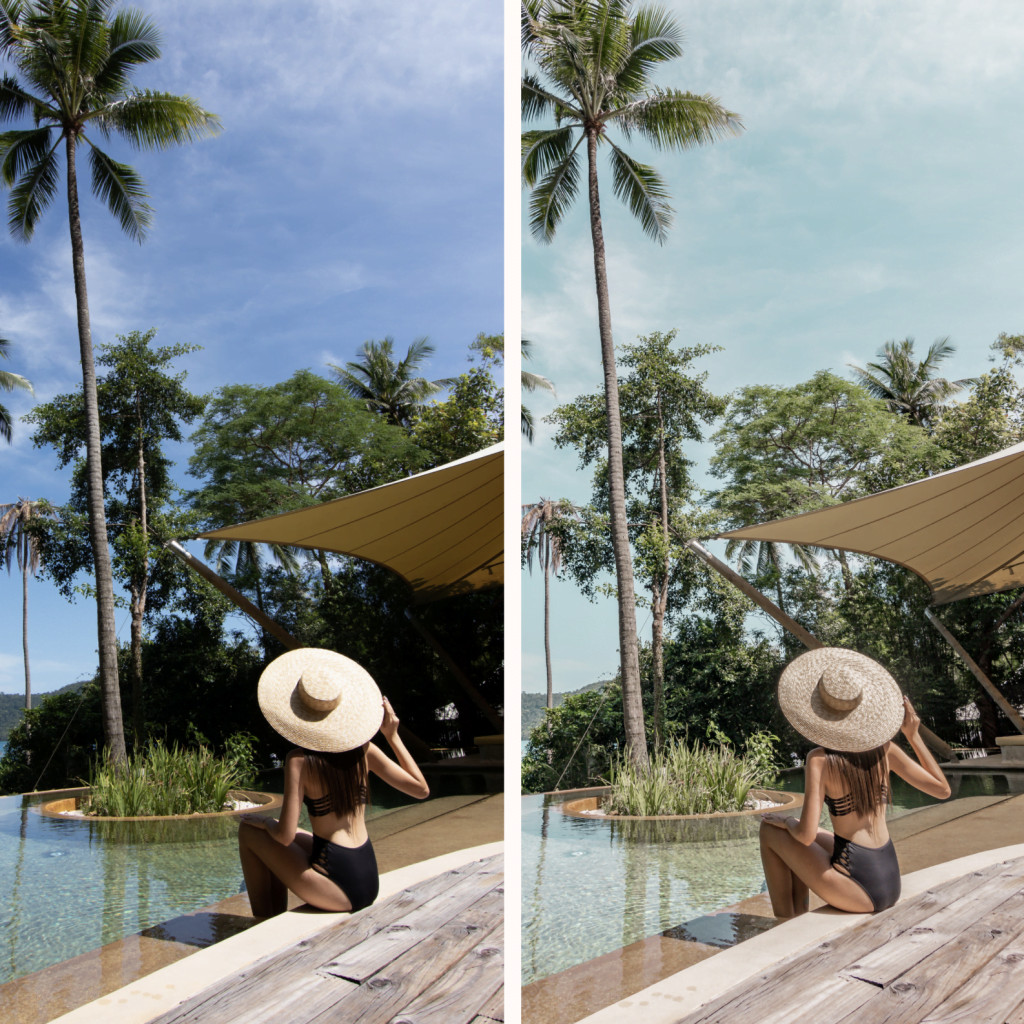
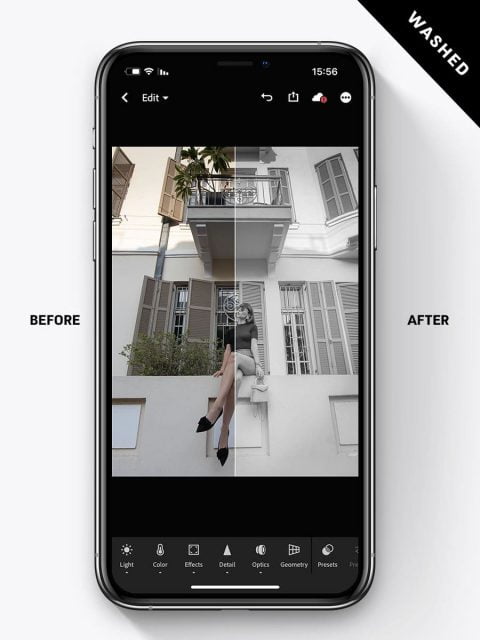
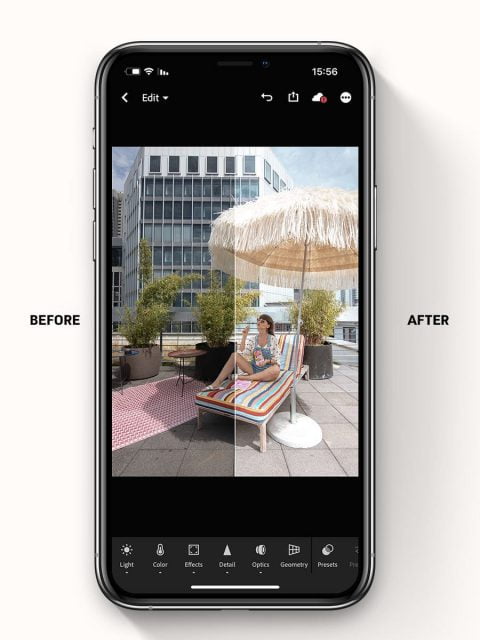
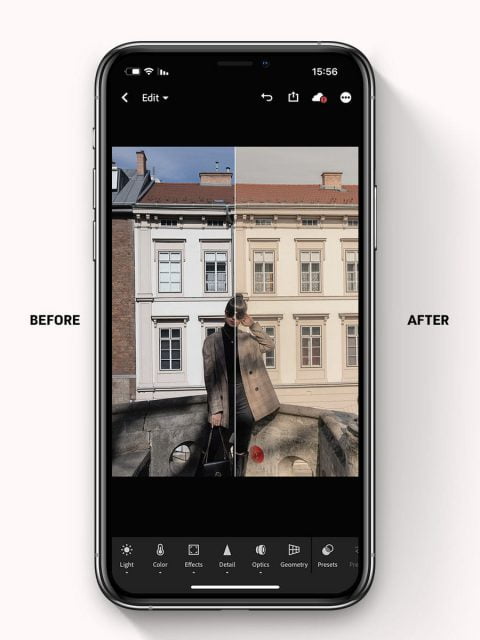
Photo editing is definitely the icing on the cake, which turns good images into amazing. No matter how good the initial image you have taken is, there is usually a small or large detail that can be altered to take it your image to the next level.
There are many photo-editing programs and applications out there, but in my opinion, not one of them is able to surpass the editing that can be done with Adobe Lightroom {which exists as a mobile app as well}. All of the photographs shared on my blog, those I take for companies and brands, or those included in my photo albums, are all edited by the excellent Lightroom.
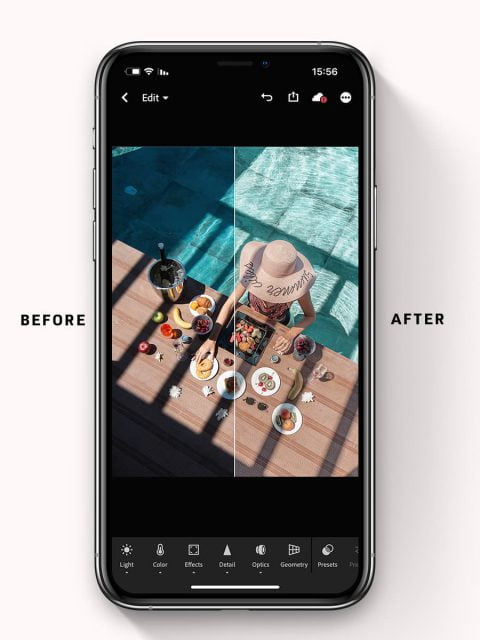
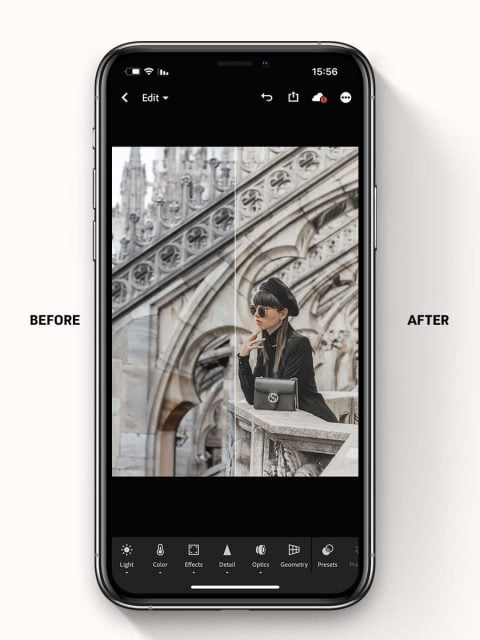
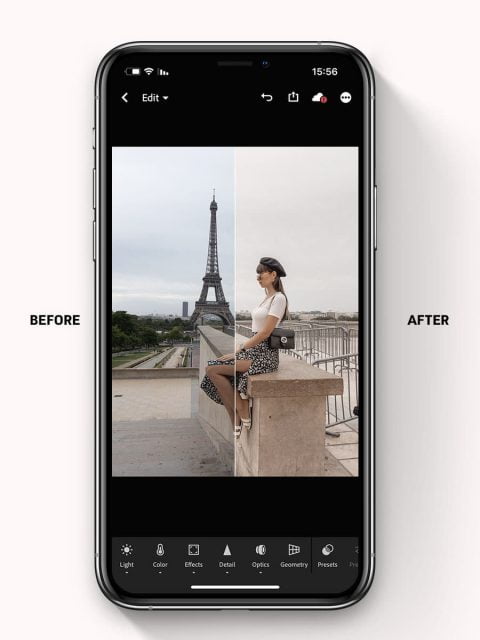
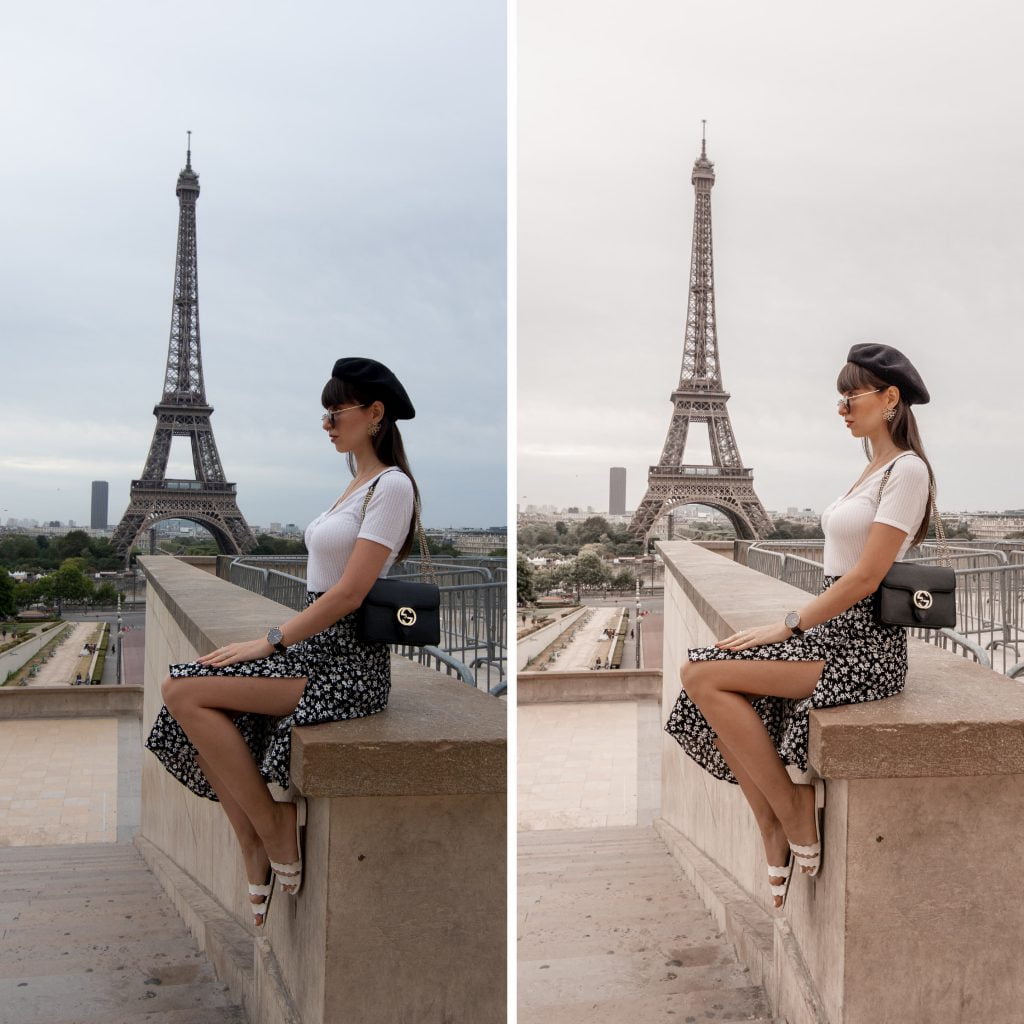
If you are currently reading this post, I imagine that you also agree with me that Lightroom can do magic!One of my favorite things about Lightroom is using the editing presets that shorten the time I spend editing photos {and believe me, as a blogger and brand photographer I already spend a lot of time editing!! 😅}.
Lightroom editing presets are basically pre-set editing settings for all or some of the software editing sliders. In other words, you can edit a photo in Lightroom, and then save the same settings with which the photo was edited as editing preset so you can edit more pictures with the same settings in the future.
Presets are amazing shortcuts! Their goal is to drastically reduce the amount of time we spend on editing our images, and they also allow us to maintain uniformity as we create a series of images.


As a photographer and Lightroom preset creator, I get a lot of questions about installing presets. This is why I decided to make a detailed guide where I explain step by step how to install Lightroom presets on both the app and the computer software.
How to Install Lightroom Presets on the Computer {Lightroom Classic CC}
1. Download the file
2. Double click on the file to unzip the folder. (If you don't have an unzip option you can download WinZip for free)
3. Open Lightroom Classic
4. Click on Lightroom Classic in the main menu
5. Click ‘Preferences'
6. Click ‘Presets'
7. Click ‘Show All Other Lightroom Presets'
8. Open the Lightroom folder
9. Open the Develop Presets folder
10. Copy the preset files into the Develop Presets folder
11. Restart Lightroom Classic
How to Install Lightroom Presets on iPhone {the Lightroom app}
1. Install Adobe Lightroom (If you don’t have it yet)
2. Make sure you have the “files” app installed. If not, you’ll have to update your iPhone’s operating system before you begin.
3. Download the presets zip files to your mobile phone.
4. Save in “files” app.
5. Click on the new preset folder found in “files app”. This will automatically export the preset files.
6. Open the new preset folder by clicking on it – it contains the .dng files.
7. Select the first file and click the icon on the right corner of the screen.
8. Click the Lightroom icon in the dropdown menu to import the file into the app
9. Repeat steps 7 and 8 to import all the preset in the pack
10. Reopen Lightroom.
11. In Lightroom, select the first file you have imported and click on the dotted icon in the top right corner, and select “Create Preset”. Name your preset {I suggest using the file names}, then click the “v” in the top right corner to save.
12. Repeat step number 11 for all imported files.
That’s it! From now on, you'll find all the new presets you have installed at the bottom of the screen, in the toolbar of the presets tool.
How to Install Lightroom Presets on Android {the Lightroom app}
1. Install Adobe Lightroom (If you don’t have it yet)
2. Download the zip file attachment.
3. Select a folder and save the zip file.
4. After downloading, click on the file to export it.
5. A new folder containing your newly purchased presets will automatically appear in your gallery.
6. Open Lightroom and create a new album by clicking the “+”, name the folder and save it.
7. Click on the dotted icon to the right of the album’s name and add the preset files.
8. Open the presets one by one, click on the dotted icon on the top left of the screen and create a new preset on the app, rename, and click save. It will automatically switch to the user-defined section that appears when you scroll left at the bottom of the screen.
9. Select the first file you have imported and click on the dotted icon in the top right corner, and select “Create Preset”.
10. Name your preset {I suggest using the file names}
11. Click the “v” in the top right corner to save.
12. Repeat step number 8 for all imported files.
That’s it! From now on, you'll find all the new presets you have installed at the bottom of the screen, in the toolbar of the presets tool.


I hope you found this guide helpful!
If you liked this post, share it on Facebook and save it on Pinterest ♡
P.S. Interested in learning more about professional photography and photo editing? I invite you to join my free video workshop where I teach the formula I use to create professional and quality images for both my brand and my clients.


")

One Response
Hi, Thanks for sharing this article. I was searching for this preset installation for a long time.